
How to Install a Switchgear?
I. Pre-installation Preparation: Essential Checks Before Starting
Proper preparation is crucial for smooth installation. This stage includes equipment verification, tool readiness, site inspection, and reviewing technical drawings. The following roles are involved:
Technical Supervisor: Oversees the entire process, cross-checks purchased equipment (switchgear, circuit breakers, disconnect switch, relays, etc.) with design specs, and provides technical guidance after studying the electrical schematics and manuals.
Equipment Inspector: Checks for missing parts or damage. For example, ensuring the circuit breaker handle operates smoothly and the disconnector blades function properly.
Tool Manager: Prepares and checks all necessary tools:
1.Screwdrivers (Phillips and flathead): Used throughout the process for fastening internal and external components.
2.Wrenches (open-end and ring): For tightening large nuts, especially during busbar and cable terminal installation.
3.Insulation Resistance Tester (Megohmmeter): For testing grounding and insulation before and after installation.
4.Multimeter: Measures voltage, current, and continuity during wiring and commissioning.
5.Level Tool: Ensures the cabinet is horizontally aligned.
6.Cable Strippers: For precisely stripping insulation from cables.
7.Cable Ties: To neatly secure and arrange cables.
8.Conductive Paste: Applied on busbars to prevent oxidation and ensure conductivity.
9.Sandpaper: For cleaning contact surfaces to improve conductivity.
10.Busbar Bending Tool: Accurately bends busbars to required shapes without damaging structure.
Site Surveyor: Checks ground flatness, installation space, and ventilation. Tests grounding resistance (should be < 4 ohms) using a known grounded object such as a water pipe.

II. Cabinet Installation: Establishing a Stable Foundation
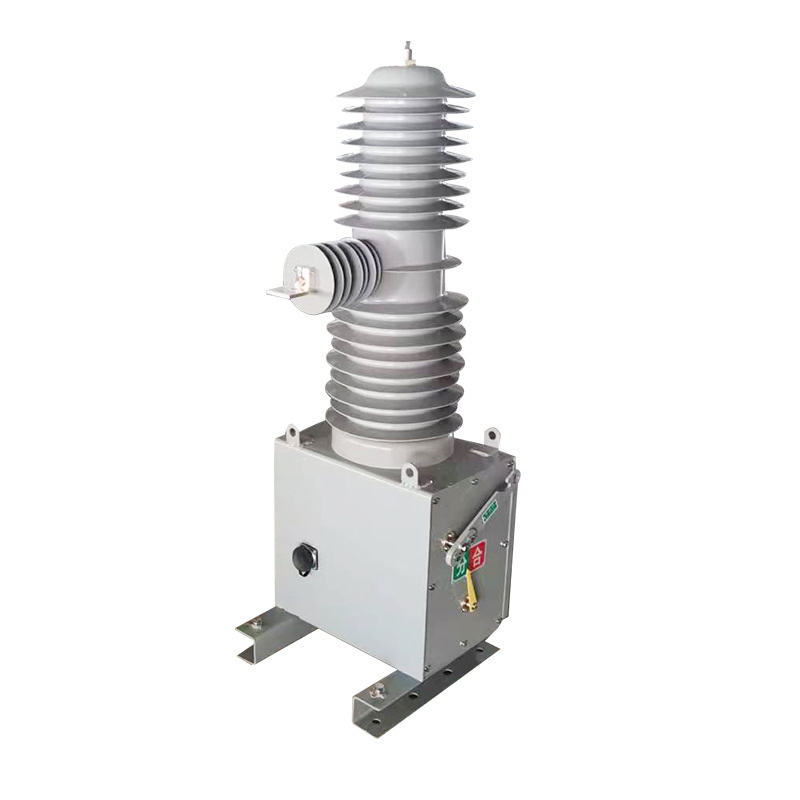
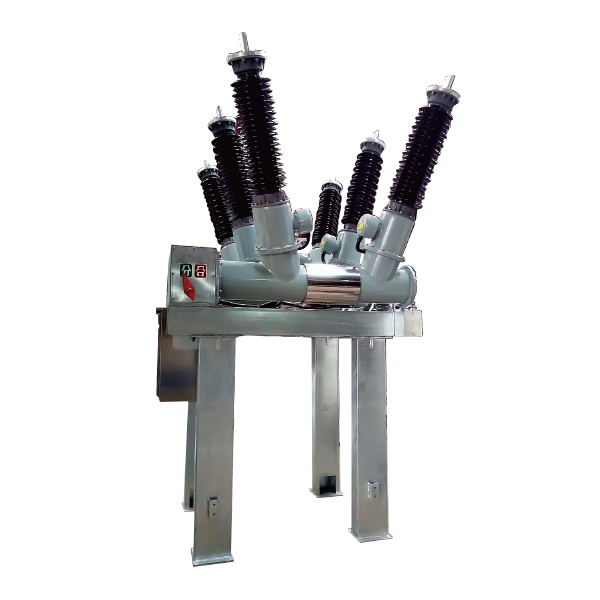
The standard installation process applies to all medium voltage switchgear types, such as SF6 gas insulated switchgear, metal-enclosed switchgear, metal clad switchgear, pad-mounted units, and vault or subsurface configurations. Cabinet installation sets the foundation for all subsequent steps. It involves:
Main Installers (2 people): Move the cabinet to its designated spot. Use a level tool to adjust the base screws and ensure horizontality. Secure the cabinet with expansion bolts using screwdrivers and wrenches. When installing multiple cabinets, connect them firmly side-by-side.
Technical Supervisor: Monitors level alignment and bolt tightness. Corrects any deviations.
Helper: Assists in moving cabinets, passing tools/materials, and helping with grounding tasks.

III. Primary Equipment Installation: Creating the Main Power Transmission Channel
Primary equipment handles core power transmission and is installed by:
Primary Electricians: Install circuit breakers with visible handles and disconnectors with clear isolation gaps. For busbars, sand and apply conductive paste, then fix with wrenches. Use busbar bending tools for accurate shaping. Strip and connect cables, secure terminals tightly, and fasten heavy cables with ties.
Technical Advisor: Guides installation, ensures spacing, alignment, and compliance with safety norms.

IV. Secondary Equipment Installation and Wiring: Building the Control and Monitoring System
Secondary circuits require precision and clear identification:
Secondary Electricians: Mount relays, meters, and indicators on panels using screwdrivers. Pull in cables from the bottom, strip ends, insert into terminal blocks, and fasten. Label wires clearly and ensure color coding for phase distinction. Test insulation with a megohmmeter.
Quality Inspector: Verifies correct wiring, component stability, and compliance with design.

V. Operating Mechanism and Interlock Commissioning: Ensuring Device Coordination
Commissioning ensures all systems function together. Involves:
Commissioning Engineer: Manually tests circuit breaker operations, times switching actions, fine-tunes components. Simulates faults like overload or short circuit, checks protection response, and uses a multimeter to assess operational values.
Control Room Operator: Executes remote commands per engineer’s instructions, monitors alarms and data in real-time.
On-site Observer: Watches for mechanical movement, indicator responses, abnormal noises, or overheating, and reports back to the engineer.

VI. Post-installation Inspection and Testing: Ensuring Equipment Safety and Availability
Final tests validate installation integrity. Performed by:
Inspector: Uses insulation resistance tester, high-voltage withstand tester, and loop resistance tester to check insulation, dielectric strength, and contact resistance. Simulates faults to confirm protection. Uses infrared thermometers during trial runs.
Technical Supervisor: Reviews test reports and confirms compliance with drawings and standards.
VII. Safety and Acceptance: The Final Checkpoint of Installation
This phase confirms compliance and readiness for operation:
Safety Officer: Oversees safe work practices, ensures disconnection of upstream power during operation, posts warning signs, and verifies use of protective gear. Eliminates hazards.
Acceptance Committee (includes technical, QA, and user reps): Verifies installation against blueprints, reviews test data, and observes trial runs. Signs off the project upon confirming full compliance.

By following this detailed process, clearly assigning responsibilities, and using the correct tools and safety practices, switchgear installation can be completed efficiently and safely.